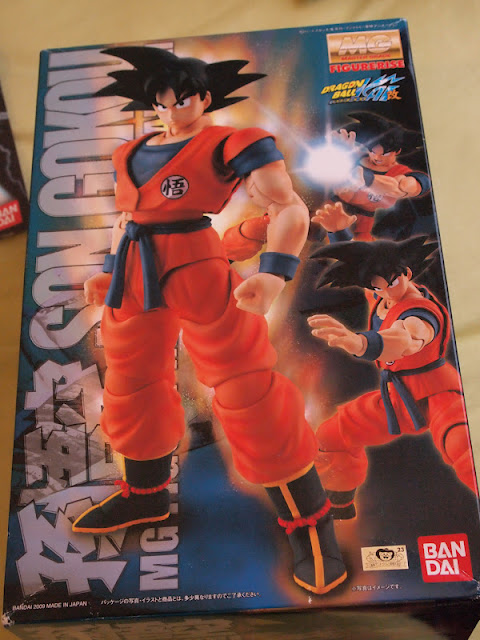
Thanks to my lovely girlfriend she send me this model kid as part of my birthday present! I've enjoyed Dragonball Z for a long time and it is one of my favorite franchises out there. I've never put together something larger than a High Grade Gundam so I was a little worried I would mess this up. I did have an amazing time putting it together though. It's a ton of fun!
The instruction booklet. Even though it was in all Japanese the pictures made it really easy to understand.
You start off with the chest piece first. Here is part of the chest and neck.
Adding his weighted blue shirt underneath.
Then the top part of his gi over it. The gi moves when you pose him!
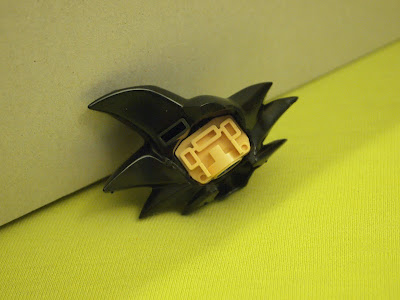
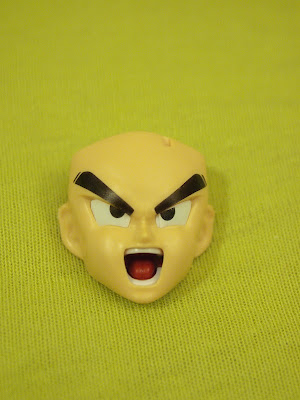
Next is the head. You get two faces for Goku but only one back of the head and hair pieces.
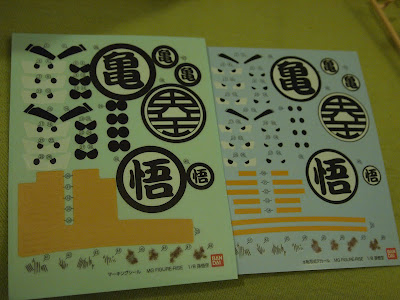
Sticker sheet (left) and water slide decal sheet (right). I'm not so great t these all you will see later.
Yeah I didn't bother to sand down the plastic nubs and I don't have very good plastic cutter. But I still think it looks great! Getting the small stickers onto the face was a pain for me because I had a hard time lining up the eyebrows.
Ah constructing the shoulder and bicep of Goku.
A little more complete.
Wicked awesome because bending his arm cause his bicep to pop out! Looks like me a on an off day. ::shifty eyes::
Completed arms. For the limbs once you do one the other one is easier.
What are we making here?
His crotch!
You can tell I didn't do a very good job stickering his yelling face. I like it though because when a person yells their face isn't symmetrical. The tongue and teeth were a little hard to put together because they are so small.
Feet!
2 chicken wings, 2 drumsticks, and a thigh piece please!
Leg complete!
Form belt and knot.
Showing of Goku's legs.
Goku pre-assembly.
You even have to build the stand!
Let us form Goku.
I always like to start with the lowest part of the body. Even when Transforming Transformers. It always seems weird when reviews don't end with the head. It's like "Hey guys my head's out but I'm not ready to fight yet. Just gimme one more minute to get my arms out then I'm ready to go!"
Attach crotch.
Put belt on first! It doesn't tie around Goku.
Attach the chest.
Pop on the right arm!
Slap on the left!
"
And I'll form the head!"
This thing is pretty big. Thsi is a size comparison with Figuarts Piccolo standing in front of Goku. The model is about a good nine inches. (That's what she said.)
College poses.
KA-ME-HA-ME...
HHHAAAAAAAAAAAAAAAA!!!!!!
Spirit Bomb pose.
I currently keep Goku in his charging pose. I have a great memory and about 3/4 of the show was Goku powering up. His articulation is pretty much the same as any humans except for no finger and toe articulation. If you can bend at a joint, Goku can bend it better...
One more Thank You to my wonderful girlfriend for getting me this model! I had a blast putting this together. It took me around four hours to complete this. You can probably do this in about two without distractions or several days if you follow their painting guide.
PARENTS: If you have a 12+ year old who needs a birthday present and loves Dragonball Z then this is probably a great fit for your child. Unless he/she likes to play with their toys then don't get them this. I'm not sure how much it costs in each country but it makes a great addition to a DBZ collection.
COLLECTORS: If you like Dragonball Z I recommend this. It's big but not too big and will be a great on your display. I also think it is a really fun model to put together. If you're into advanced modeling there's water slide decals and even paint guides on what colors to use to paint the entire model.


how much?
ReplyDelete